How to Easily Set Up a Neat User Interface for Your Local LLM

1 Why Local LLMs
Whether it's due to company restrictions or a desire to handle personal data securely, many have avoided using ChatGPT due to data privacy concerns.
Fortunately, there are solutions that allow unlimited use of LLMs without sending sensitive data to the cloud.
In my previous article, I explored one such solution by explaining how to run Llama 3 locally thanks to Ollama.
PREREQUISITE: by the end of that last article we had Llama 3 running locally thanks to Ollama and we could use it either through the terminal or within a Jupyter Notebook.
In this article I explain how to make the use of local LLMs more user-friendly through a neat UI in a matter of minutes!
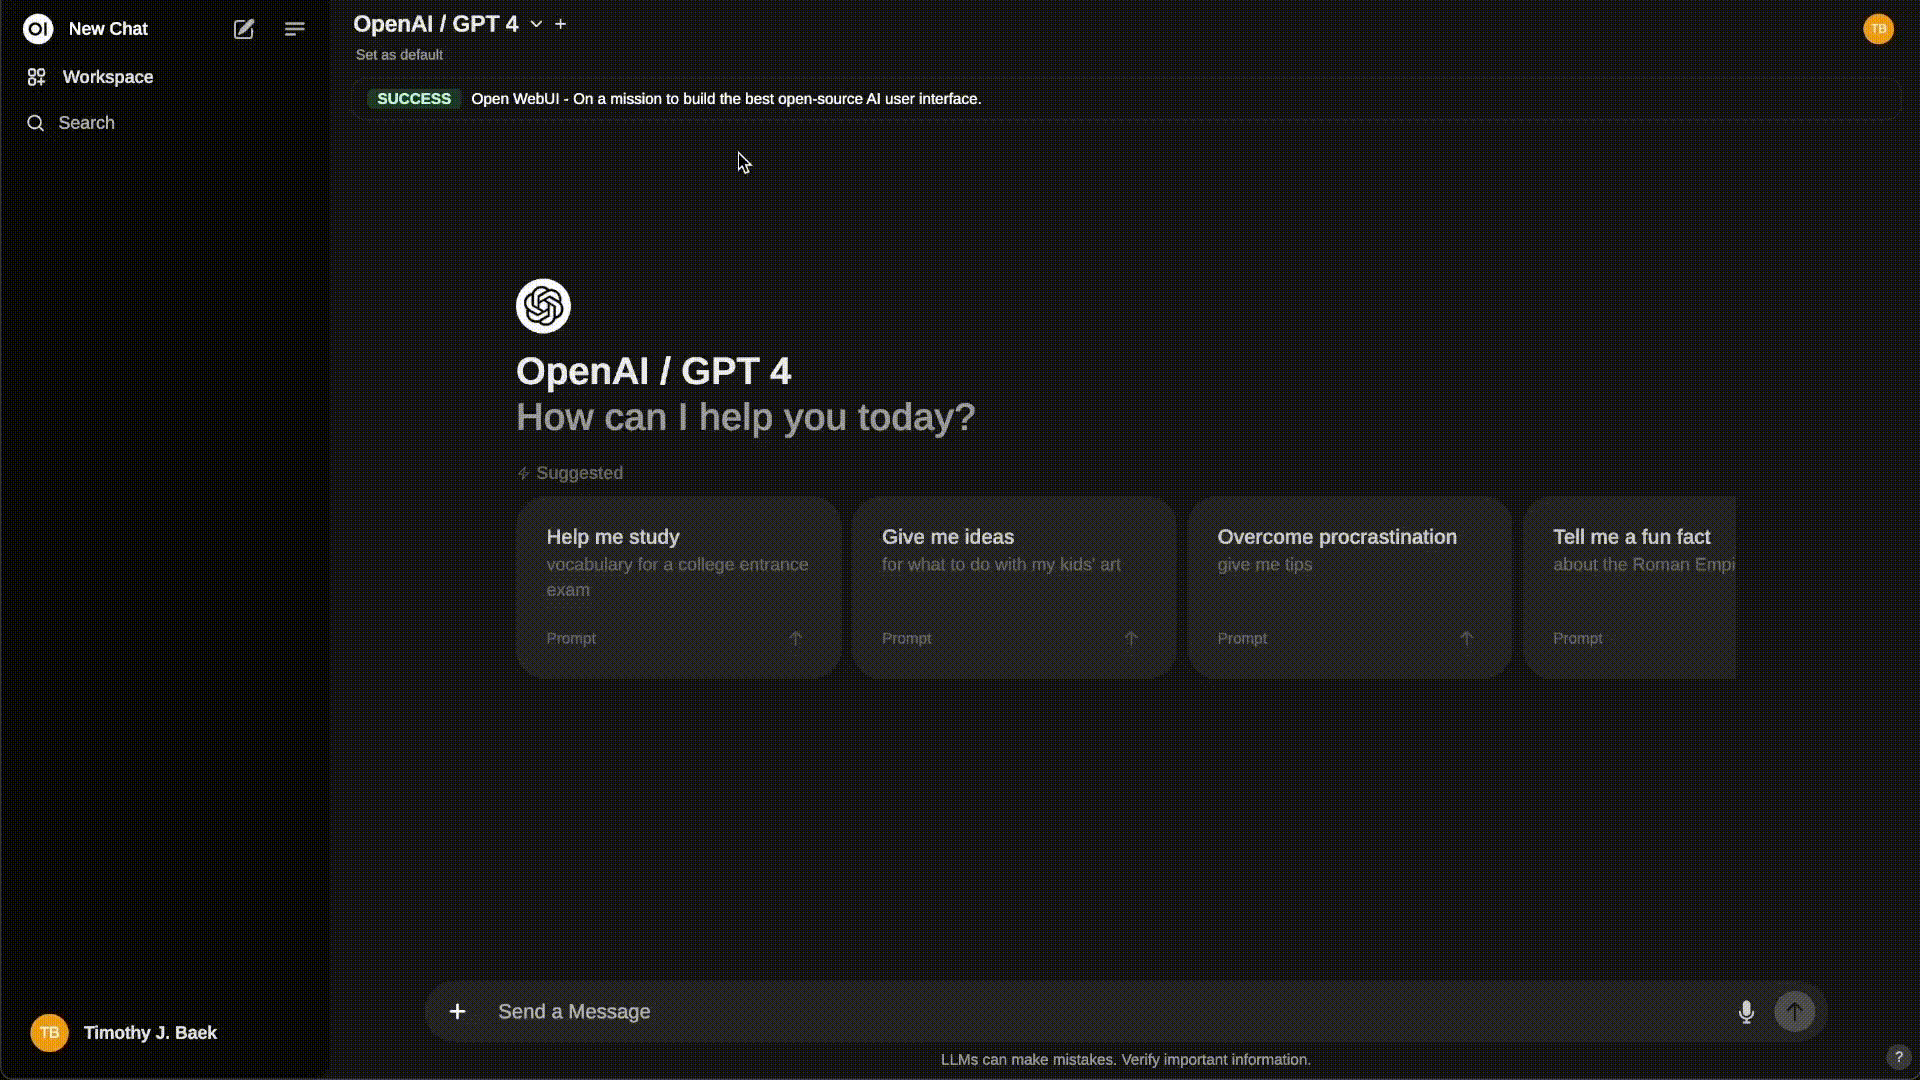
So this article really is a follow-up where I explain step by step how to run a local Llm through a ChatGPT like user interface – Open WebUI. Spoiler alert: it's surprisingly simple!
Let's get started!
2 Brief Overview of Open WebUI
Open WebUI is an open-source interface for running AI models locally. It allows to chat with your LLM as you would with ChatGPT, through your web browser.
It is compatible with various different LLMs and has a very active community which ensures that the solution stays up to date with the latest models.
The interface is very clean and user-friendly which makes it super intuitive to use. There's even the possibility to switch between local models and fine-tune their hyper-parameters.
Promising!
3 Installing Docker
Well, we did talk about Open WebUI, so what is Docker doing here?
Docker allows you to easily run applications in isolated "containers" on your local computer. This simplifies software installation and ensures consistent, reliable execution across different environments. In other words, it is what we need to run Open WebUI.
To download Docker, just go to docker.com and click download:

Once it's done downloading, as with any other apps, just follow the very straightforward installation steps.
STEP 1/2:
1- Drag the docker app to your Applications folder to install it
2- Accept the Docker Service Agreement

STEP 3/4:
3- You can create a Docker account if you wish, or you can skip this part, it is not necessary in our case
4- Finally, go ahead with the recommended settings to complete the installation of Docker Desktop

At this stage, docker is now installed and should look like this (I immediately switch to dark mode for obvious reasons):

You can minimize Docker for now, as the next step is to install Open WebUI!
4 Installing Open WebUI
To install Open WebUI, go to https://docs.openwebui.com/ :
